Mon 29 April 2024
🚀 OXO v1.0!
Two years ago, we open-sourced our security scanning orchestrator.
Over that period, the orchestrator was battle-tested on hundreds of thousands of scans, had over 200 releases, was downloaded over a quarter million times, and had 29 new detection agents published.
OXO acts as a conductor for various security tools. It simplifies and improves vulnerability detection by bringing multiple specialized tools together and coordinating them to work seamlessly as agents.
Today, we are excited to announce that the project has finally matured to reach version 1, is adding a slew of new exciting features, and has been renamed to OXO.
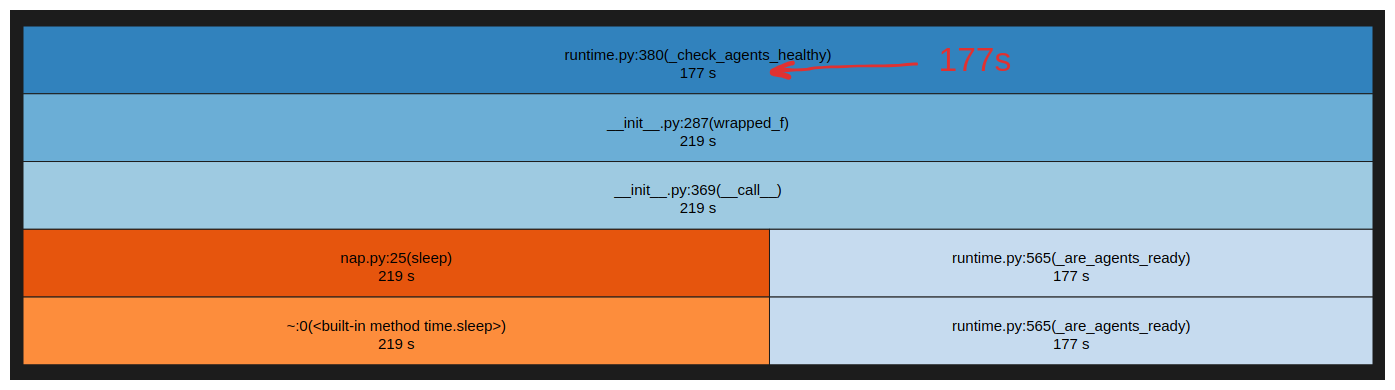
Start a scan is now x10 times faster.
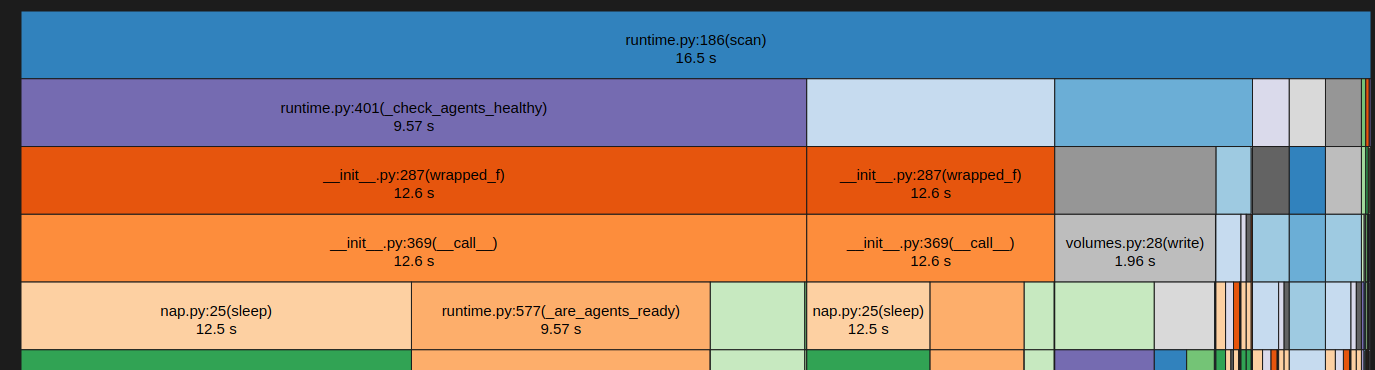
In previous versions, starting a scan took almost 3 minutes. With OXO v1, it is now 10 times faster, starting a scan in just 16.5 seconds.
Before (177s):
After (16.5s):
Standalone Binary
OXO is now available as a standalone binary for macOS, Linux, and Windows. You can download it directly from the GitHub releases page: https://github.com/Ostorlab/oxo/releases
Support for macOS and ARM64 architecture for agents
If you're a macOS user with an ARM64 processor, we've got some great news for you! OXO can now support ARM64 agents natively.
For agent developers, you can now specify in the agent definition YAML file oxo.yaml which architectures are supported.
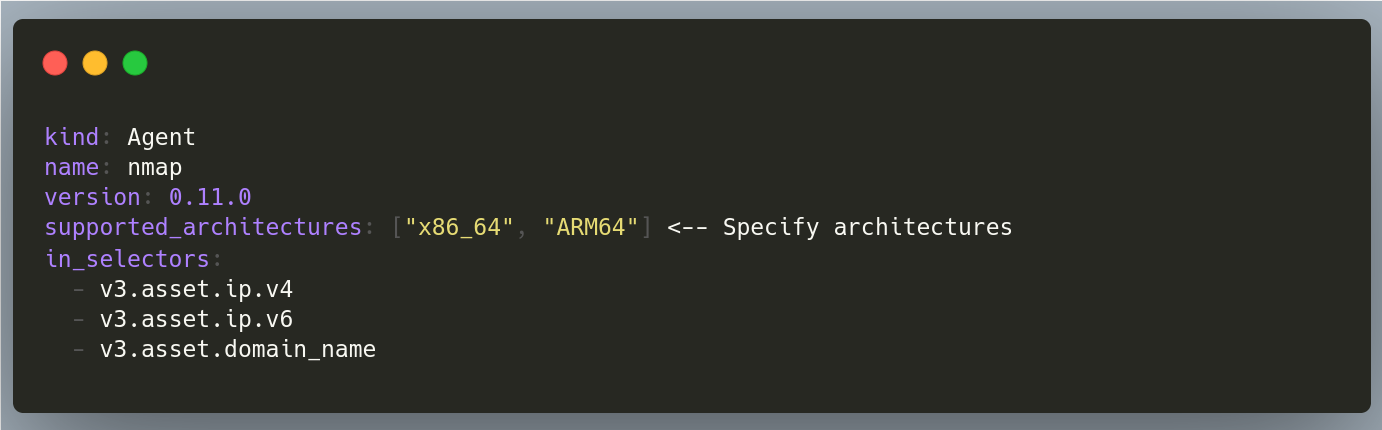
Once you publish your agent to the OXO store, the store will automatically build your agent's container images for all the specified architectures.
Additionally, OXO will automatically select and pull the corresponding image for your architecture when you run a scan.
Scan an Inventory file.
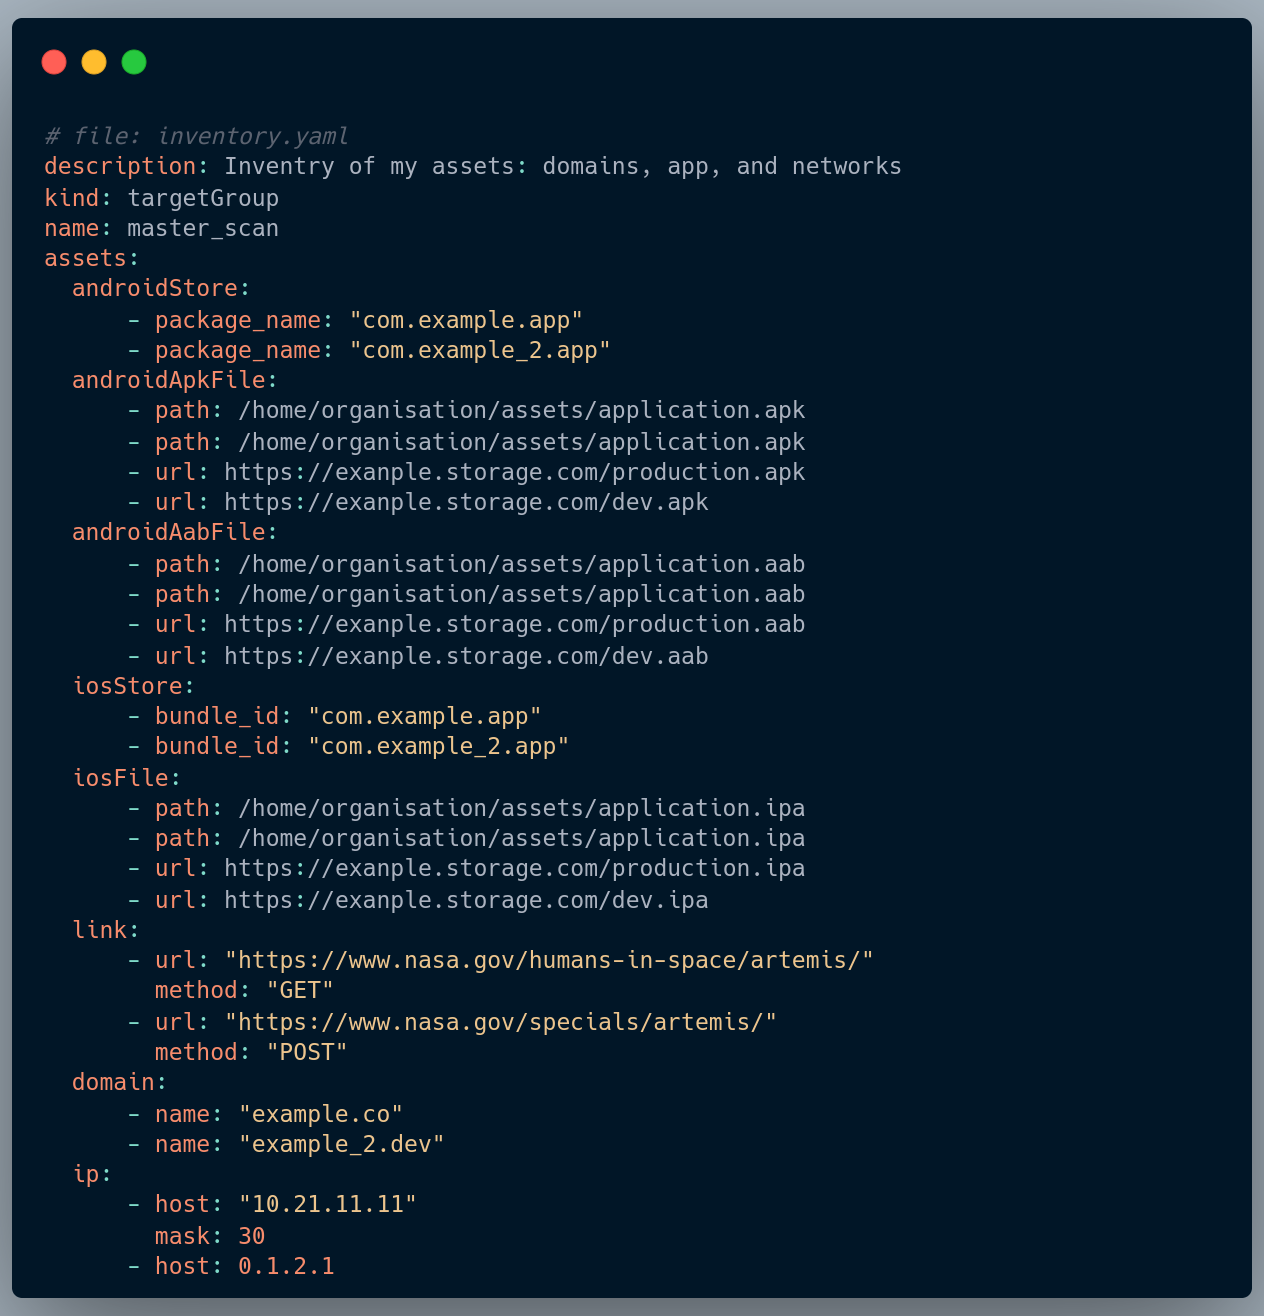
OXO added scanning multiple assets using an asset definition YAML file. This gives you the possibility to scan a large number of different types of assets at the same time.
Example using YAML file to scan multiple assets:

Friendlier CLI:
The "agent key" is a unique identifier that helps OXO identify which agent you want to use. It is constructed by combining three elements: "agent" (string), the name of the organization, and the name of the agent itself.
For example, the agent key for an agent named my_agent belonging to the organization my_org would be agent/my_org/my_agent.
As of OXO version 1, you can now specify the agent key in a concise way when running scans. Instead of using the full agent key, you can use the shorthand <org>@<name> format. This will tell OXO to use the agent with the specified name belonging to the specified organization.
For example:
oxo scan run --install --agent agent/ostorlab/nmap --agent agent/ostorlab/openvas --agent agent/ostorlab/tsunami --agent agent/ostorlab/nuclei ip 8.8.8.8
Can be written as follows:
oxo scan run --install --agent ostorlab@nmap --agent ostorlab@openvas ip 8.8.8.8
Or if you are using an agent published in Ostorlab’s’s official org, you can just use the agent's name
oxo scan run --install --agent nmap --agent openvas --agent tsunami --agent nuclei ip 8.8.8.8
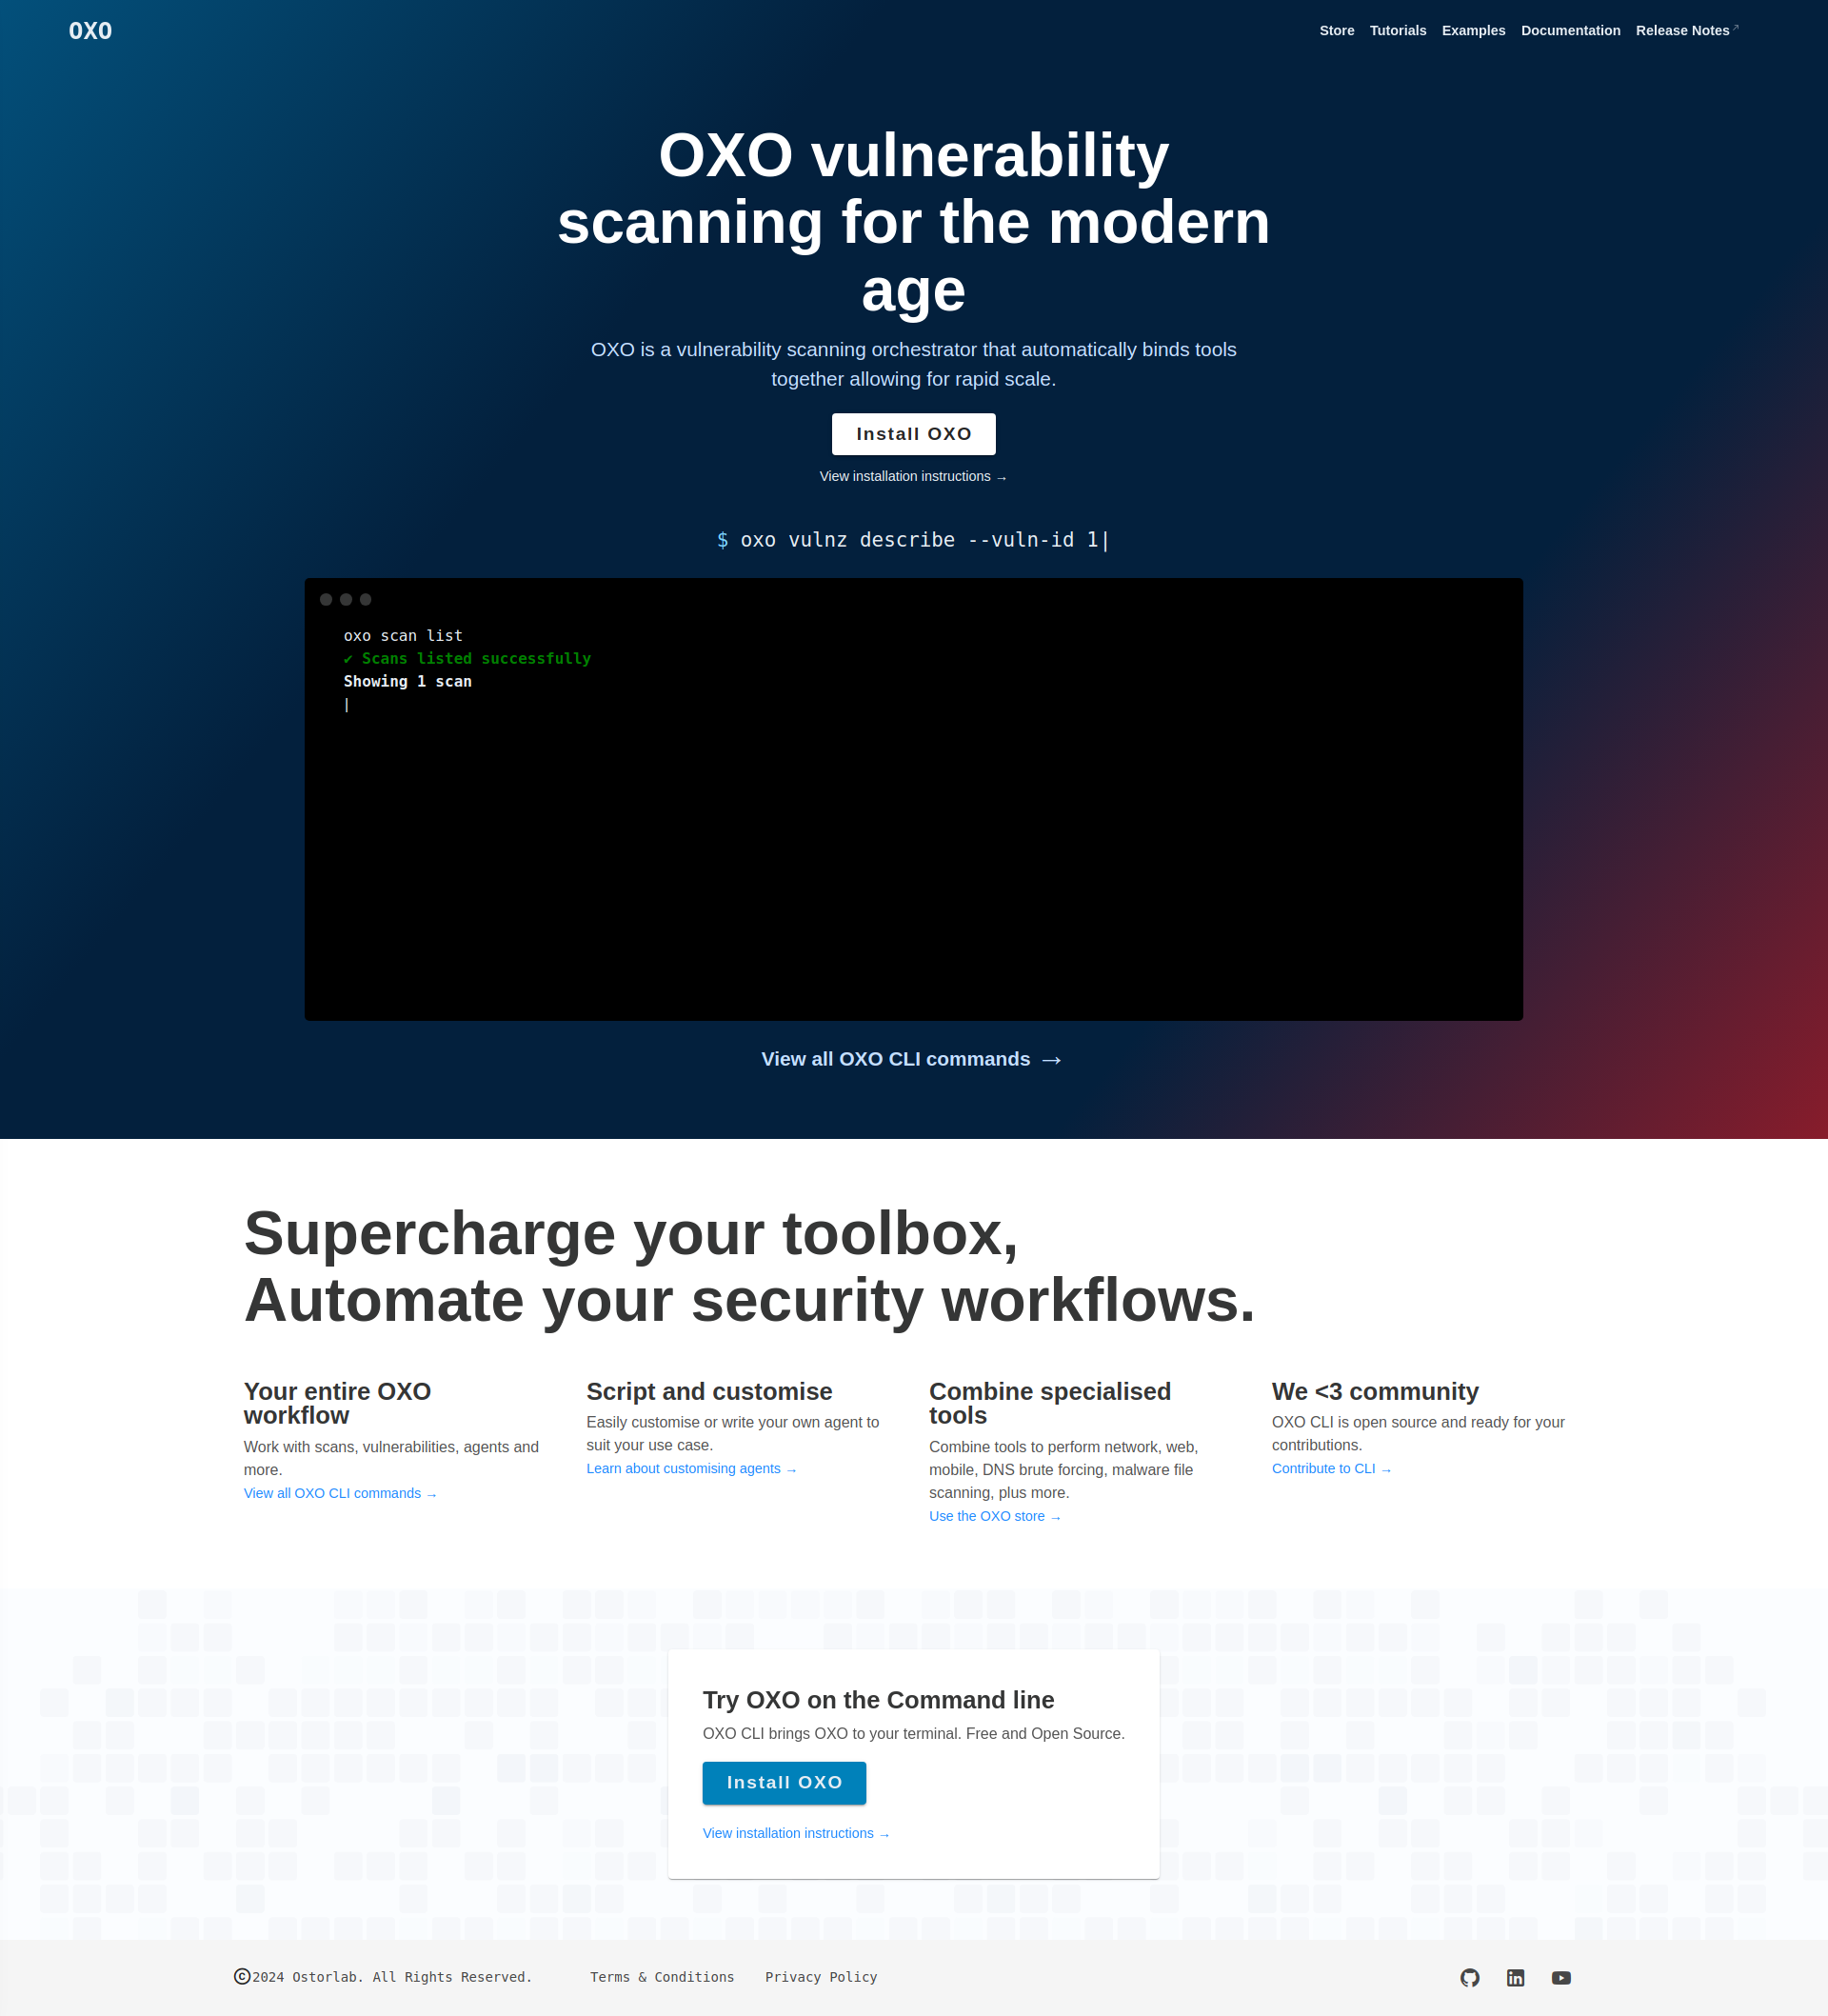
New Documentation Website:
OXO now has its dedicated documentation website, packed with tutorials and numerous examples.
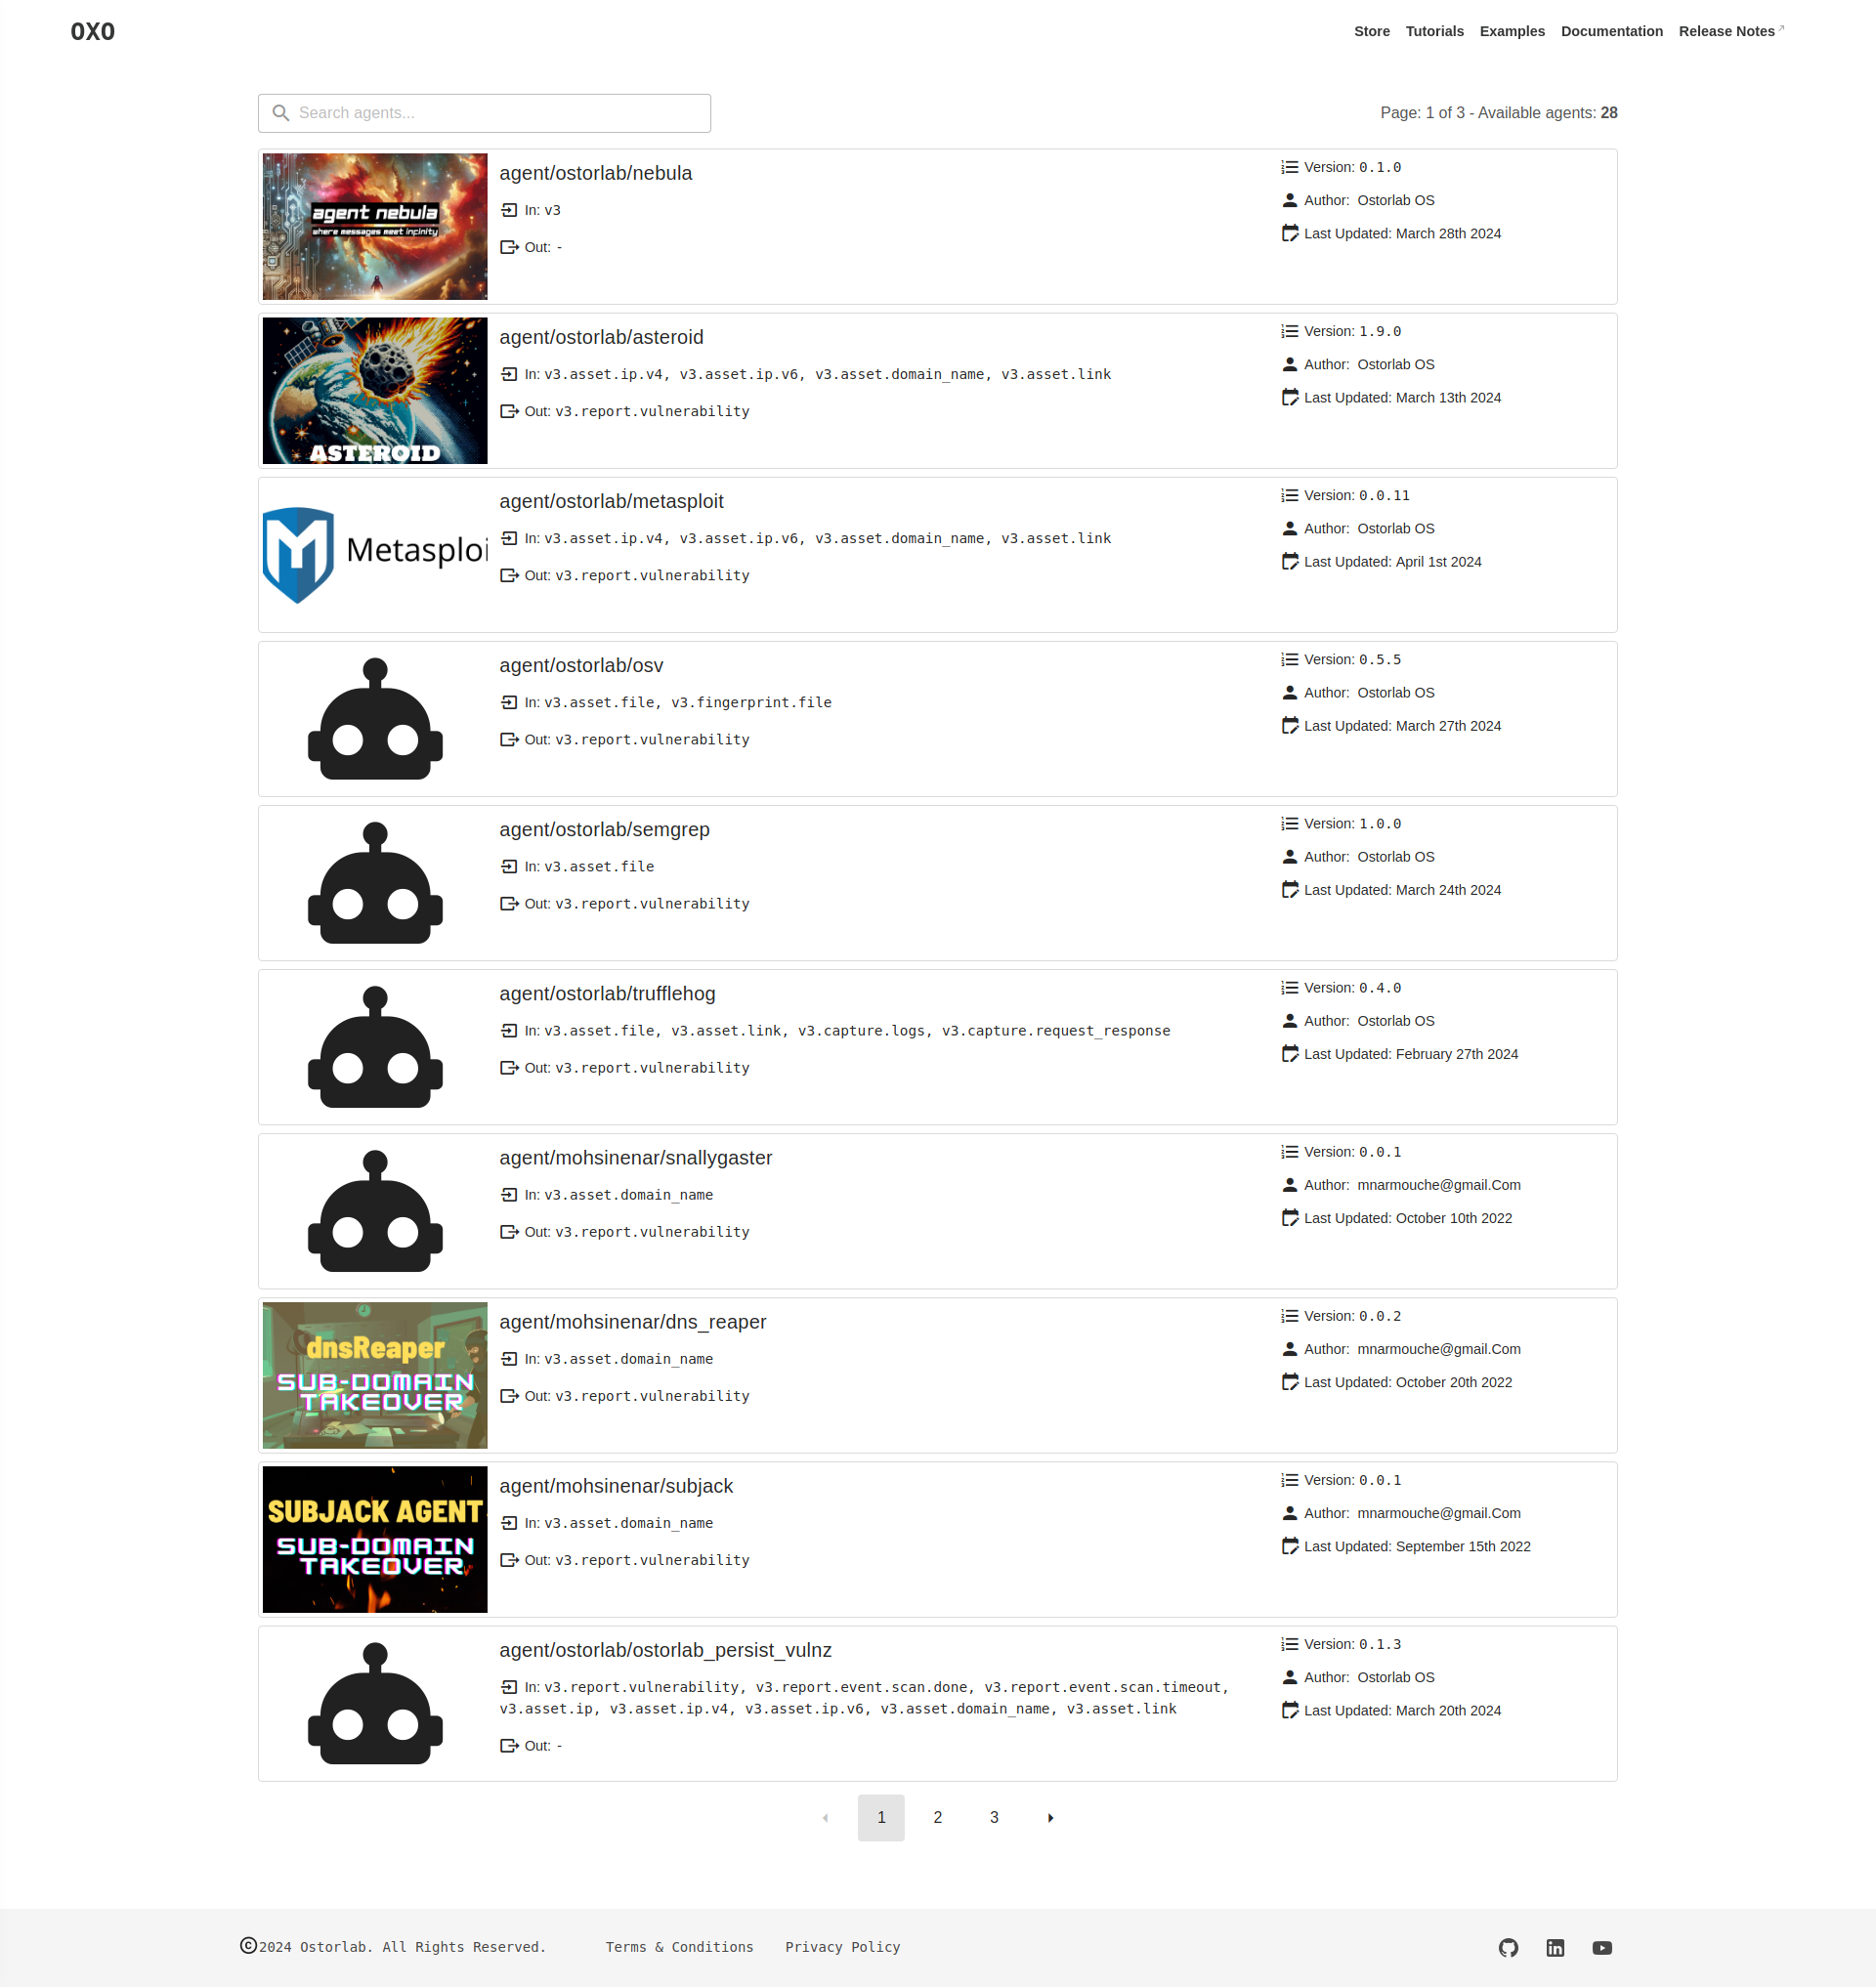
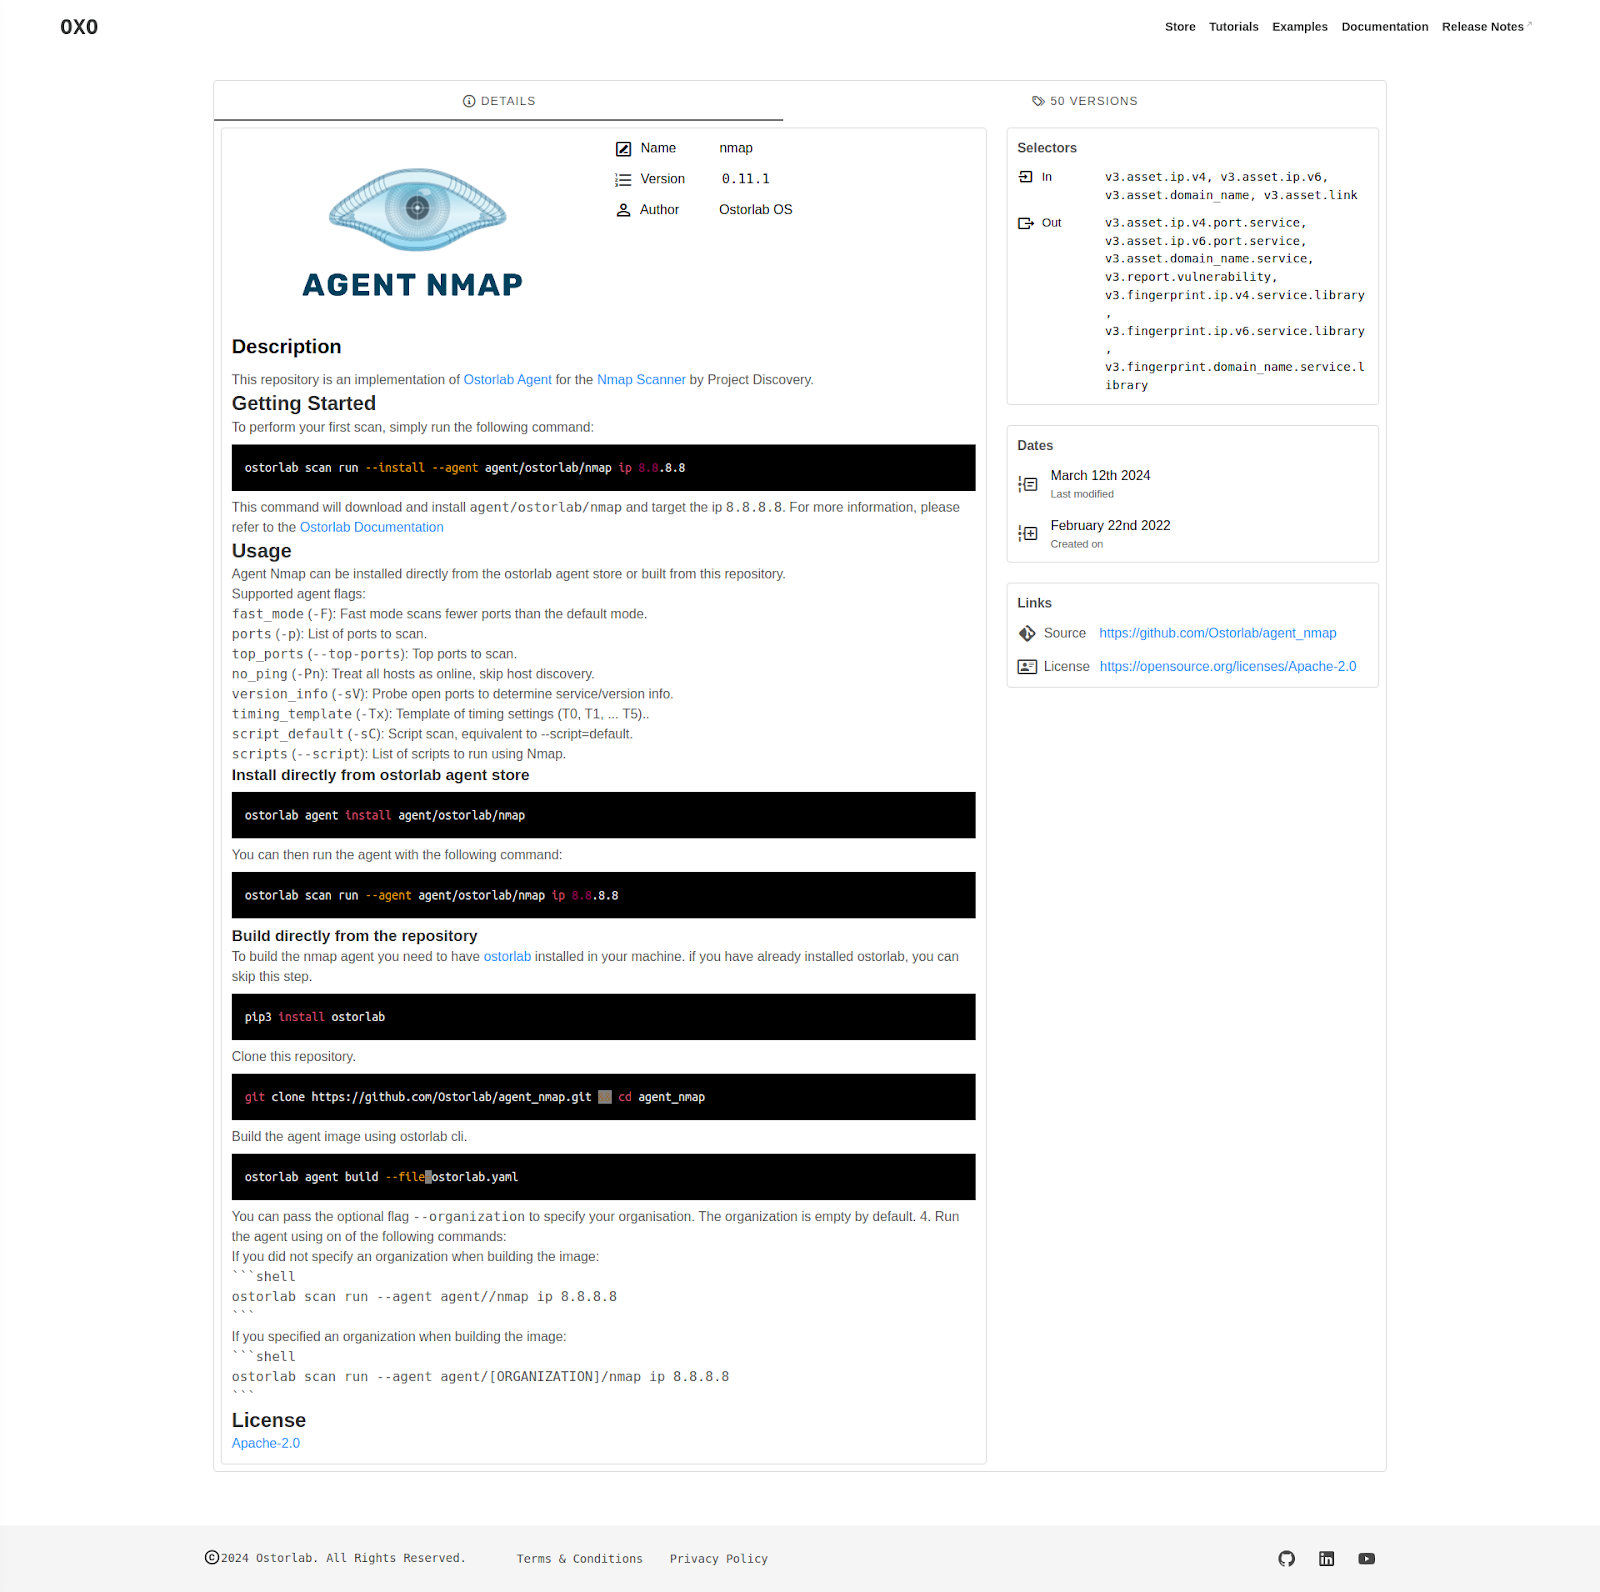
Agent store.
Agents are the main components of OXO's scanning capabilities, we have therefore introduced OXO's agent store.
Here, you can find agents published by Ostorlab and the community. You can also publish your agent to the OXO store by simply following this tutorial
Follow scan progress by Default.
Tracking scan progress has been streamlined. Starting from the version v1, --follow is the default mode, when you start a scan OXO will keep you updated on the scan's progress.

Pass Arguments to agents directly from the CLI
Agents can be fine-tuned using arguments which give you more control and flexibility. Passing arguments is now available throughout the CLI.
For instance, if you wish to initiate a scan with only the Nmap agent and set the fast_mode argument to false, you can use the agent_group.yaml file in this format.
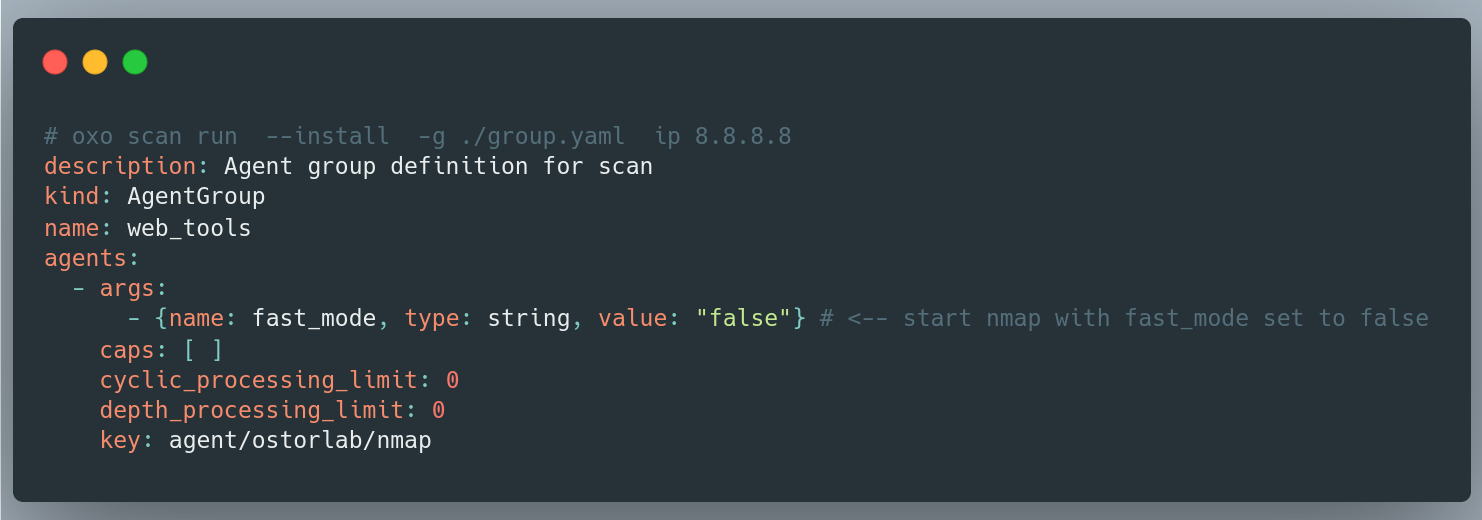
Now, you can perform the same task directly from the CLI:
oxo scan run --agent agent/ostorlab/nmap --arg fast_mode:False ip 8.8.8.8
Add the ability to persist messages:
OXO has a new open-source agent Nebula. Nebula agent allows you to persist any type of message you wish, such as IP, domain, link, and exposed services. etc, Allowing you to move beyond scanning just for vulnerabilities to more advanced scenarios like recon and attack surface mapping. For example, here an agent group to gather domains, subdomains, IPs, and exposed services starting from the main domain of your target.
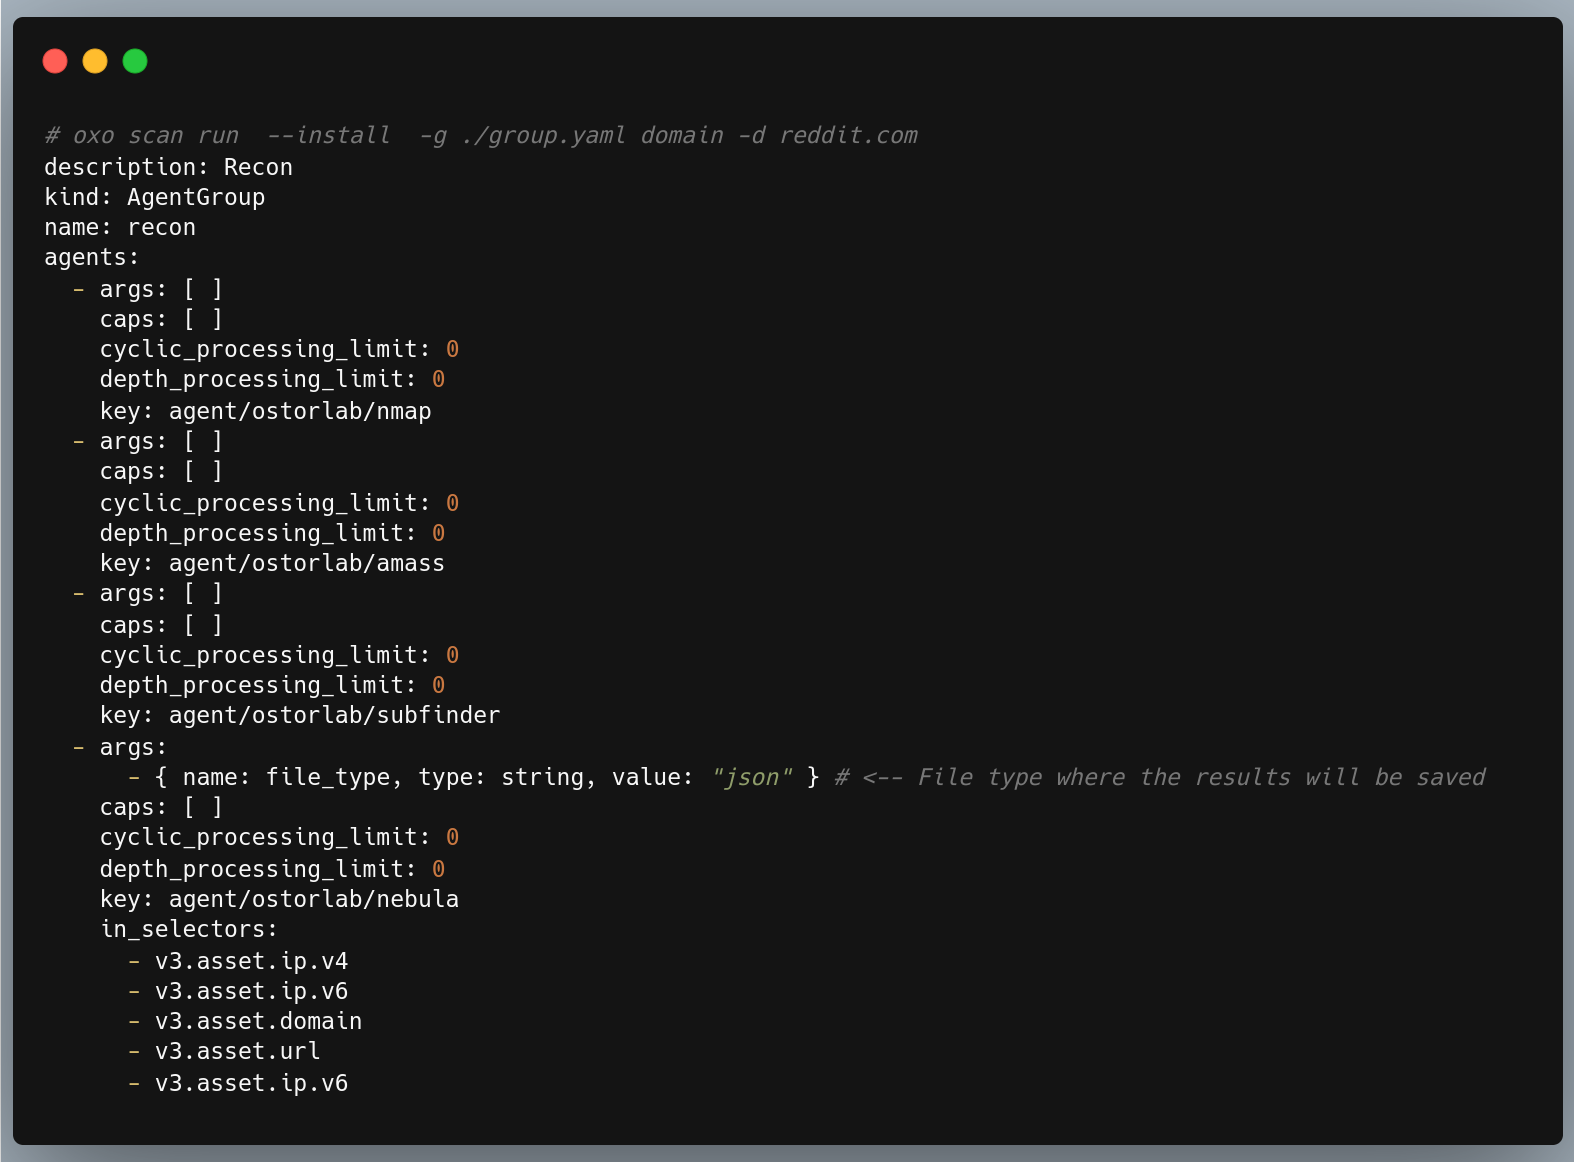
After running a scan using this command, you can find all messages that persisted at the path ~/.ostorlab/
Summary
OXO version 1.0 is 10x times faster, supports ARM64 architectures, and is packed with improved capabilities like scanning multiple assets, simpler and powerful CLI, agent store, etc.
You can check out the examples section in the OXO documentation to see a list of common scenarios to use OXO.
This covers various types of scans such as web, network, SBOM files, and more.
You can also check the KEV project which uses OXO under the hood to check for all known exploitable vulnerabilities.
Table of Contents
- 🚀 OXO v1.0!
- Start a scan is now x10 times faster.
- Standalone Binary
- Support for macOS and ARM64 architecture for agents
- Scan an Inventory file.
- Friendlier CLI:
- New Documentation Website:
- Agent store.
- Follow scan progress by Default.
- Pass Arguments to agents directly from the CLI
- Add the ability to persist messages:
- Summary